La prossima settimana si ricomincia la scuola!
Mi è sempre sembrato che il vero inzio dell’anno sia adesso, settembre, con la riapertura delle scuole. E la sensazione, pur dopo tanti anni, non è ancora cambiata!
Quando eravamo piccole, la sera prima del primo giorno di scuola, mia sorella e io facevamo la punta alle matite, mettevamo la copertina ai quaderni, rivestivamo i libri e soprattutto preparavamo la cartella e i vestiti per la mattina dopo. Ehhh si, sto proprio invecchiando, mi sta venendo una lacrimuccia!
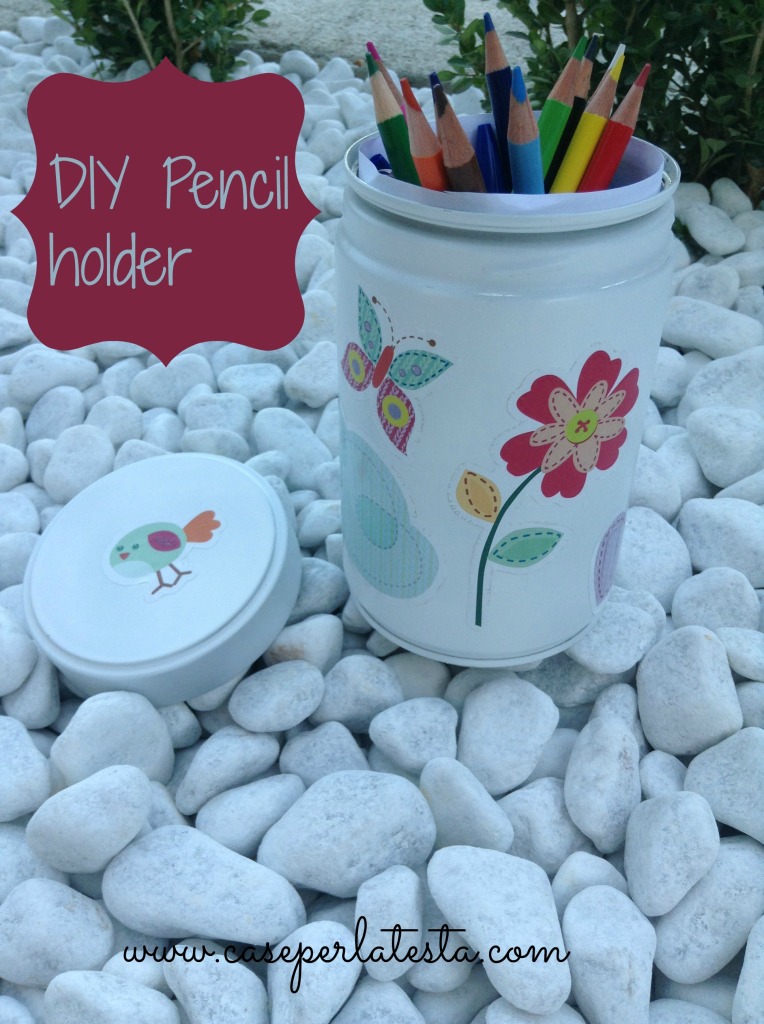
Abbiamo pensato a quale fosse la cosa che più ci serviva… un porta matite.
Questa idea può essere un regalo per la maestra per il primo giorno di scuola, per augurarle un buon anno scolastico!
Next week school starts!
It has always seemed that the real BEGINNING of the year is now, september, with the reopening of schools. And the feeling, even after so many years, has not yet changed!
When we were little, the night before the first day of school, my sister and I did the tip of the pencils, we put the cover to notebooks, rivestivamo books and above the folder and were preparing clothes for the next morning. Ehhh you, I’m just getting older, I’m getting a tear!
We thought about what was the thing that we needed … a pencil holder.
This idea can be a gift for the teacher on the first day of school, to wish her a happy school year!
Si tratta di un lavoro molto semplice
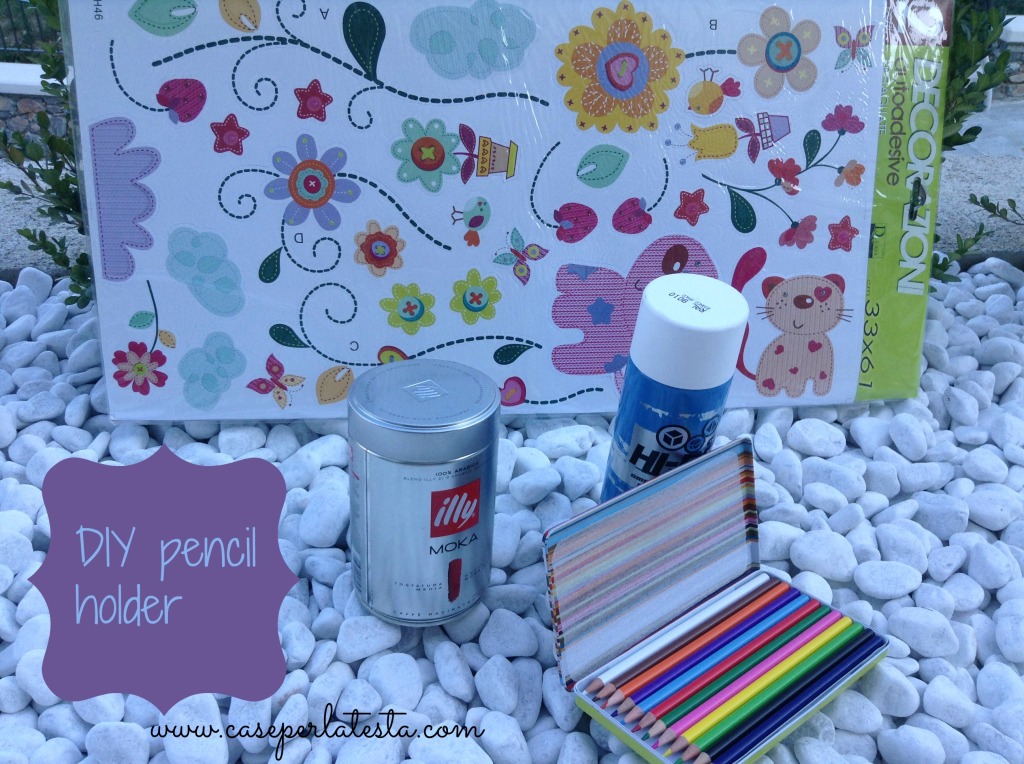
Serve:
– un barattolo di latta (ho usato quello di Illy caffè perchè ha anche il tappo ma anche una lattina di passata di pomodoro va benissimo, è necessario solo fare attenzione al bordo che non sia tagliente)
– una bomboletta spray di acrilico bianco opaco
– degli stickers (ho trovato in un negozio di articoli vari un grande foglio per meno di 2,00 euro e ne ho usati solo alcuni)
Come fare:
bhe è veramente semplice: prima pulisci bene il barattolo con dell’alcool per togliere polvere e residui appiccicosi, poi, meglio se all’aperto, dai due mani di vernice bianca opaca, lasciando passare 30 minuti tra una mano e l’altra (io mi sono messa in giardino, si vede no??)
You need:
– A tin can (I used to Illy coffee because it also has the cap but also a can of tomato sauce is fine, you only need to pay attention to the edge that is sharp)
– A spray of matt white acrylic
– The stickers (I found in a convenience store a large sheet for less than 2,00 € and I’ve used a few)
How-to:
well, it is really simple: clean well before the jar with alcohol to remove dust and sticky residue, then, preferably outdoors, by two coats of opaque white paint, allowing 30 minutes between coats (I I started in the garden, we see no ??)
Il gioco è fatto, basta attaccare gli stickers. Costo totale, considerato che vernice spray e stickers possono essere utilizzati per altri lavori, circa € 0,20. Se vuoi puoi dare una mano di vernice spray opaca per fissare bene gli stickers al barattolo, io non l’ho fatto.
The game is done, just stick the stickers. Total cost, since spray paint and stickers can be used for other work, around € 0.20. If you want you can lend a hand spray paint opaque to firmly attach the stickers to the jar, I have not done.


No Comments